Take Your Salesforce User Experience to the Next Level. Create Salesforce Apps 10x faster. - 70+ Flow Screen Components - 40+ Experience Cloud Components - Free up to 10 users
Avonni Components passed Salesforce's security review and is listed on the AppExchange
Take Your Salesforce User Experience to the Next Level. Create Salesforce Apps 10x faster. - 60+ Flow Screen Components - 30+ Experience Cloud Components - Free up to 10 users
Avonni Components passed Salesforce's security review and is on the AppExchange
Unlock Mass Editing in Salesforce Flows: Edit Multiple Records at Once!
Are you tired of the tedious task of editing Salesforce records one by one? Do you dream...
Stop wasting time on tedious, record-by-record edits in Salesforce! Do you dream of a faster, more efficient way to update multiple records at once? If you're looking to unlock the power of mass editing in Salesforce flows, you've come to the right place.
But first, a quick note: to follow this tutorial, you'll need to install the Avonni Components Package from the Salesforce AppExchange.
Now, let's dive in! This blog post provides a step-by-step guide to adding powerful bulk editing capabilities to your Salesforce flows using the Avonni Data Table. Say goodbye to clicking through individual records and hello to streamlined updates! Imagine empowering your users to select a whole batch of opportunities, leads, or accounts and update them with just a few clicks.
Here's how it works
We'll leverage the flexibility of Salesforce flows and the power of the Avonni Data Table to create a seamless mass edit experience. This involves two interconnected flows:
The Main Flow: This flow displays your Salesforce data in an intuitive Avonni Data Table, providing a clear overview of your records.
The Bulk Edit Flow: This flow is triggered by a "Bulk Edit" button and allows for simultaneous editing of all selected records.
Ready to unlock mass editing in your Salesforce org? Let's dive in!
Step 1: Build Your Main Flow
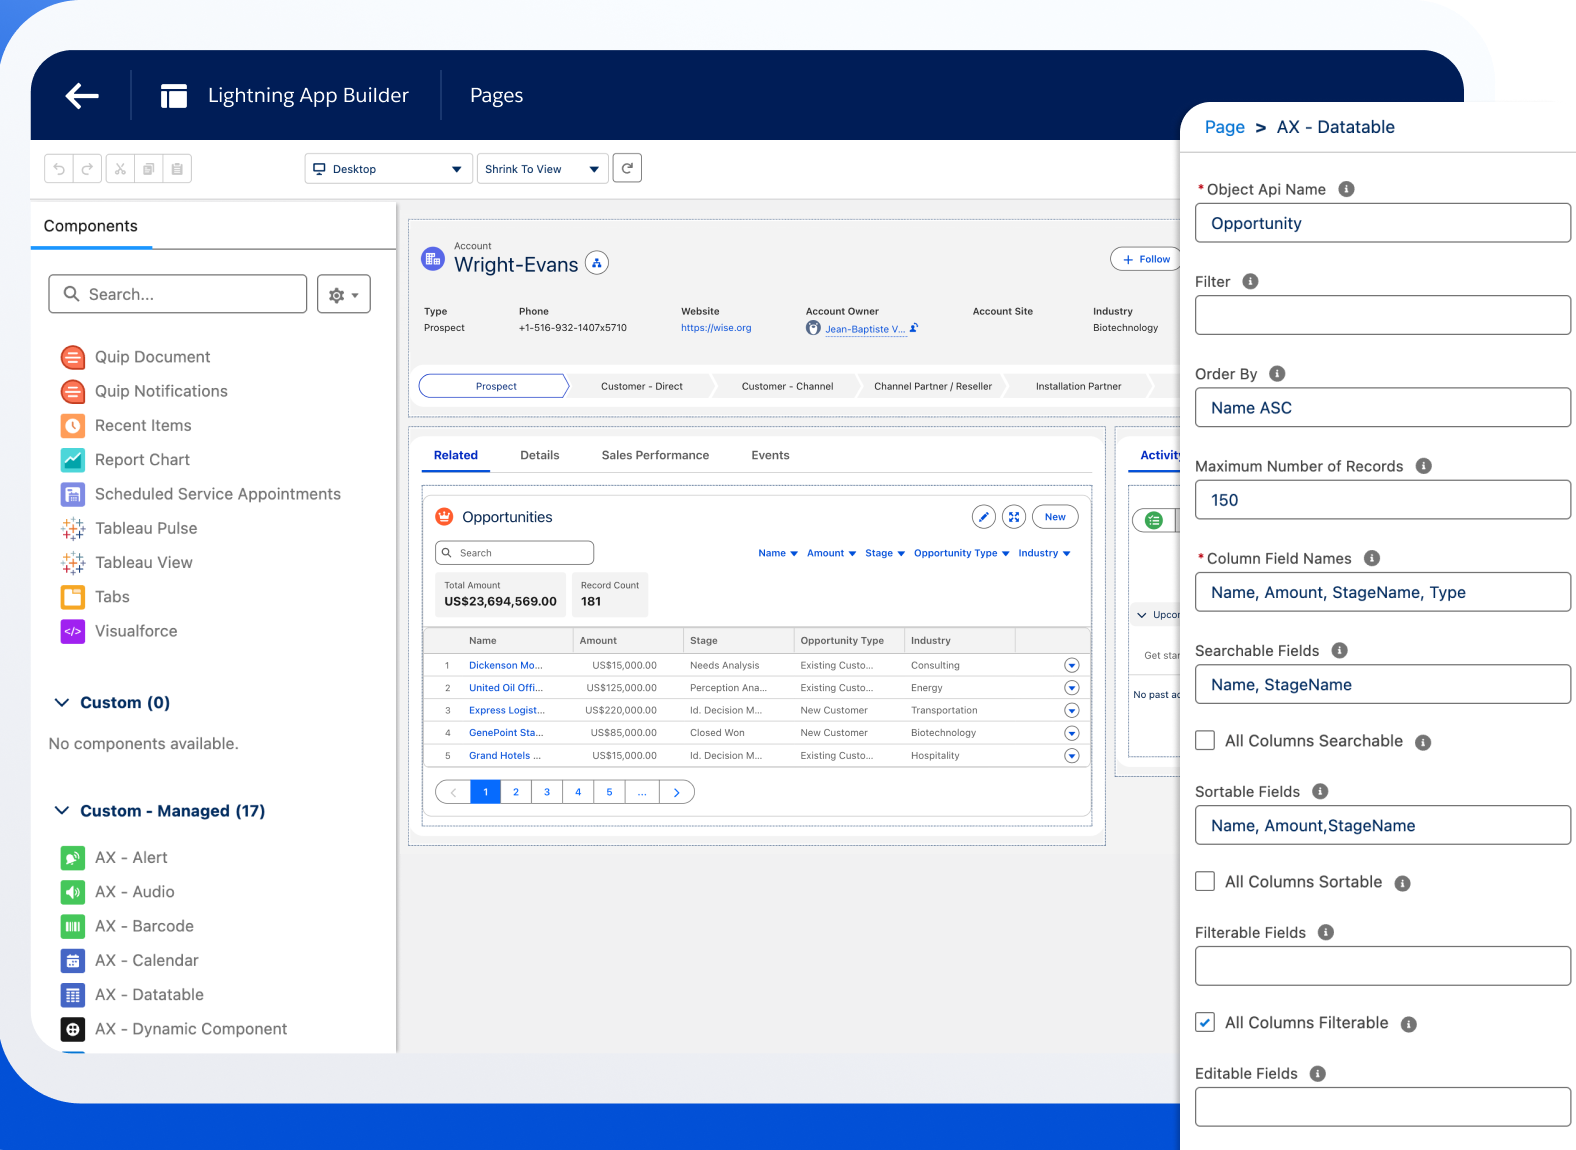
Integrate the Avonni Data Table: Simply drag and drop the Avonni Data Table component onto your flow screen.
Connect to Your Salesforce Data: Utilize the "Query Data Source" option to seamlessly link the Data Table to your desired Salesforce object (e.g., Opportunities, Accounts, Contacts).
Customize Columns: Select the specific fields you want to display in your Data Table.
Add the "Bulk Edit" Button:
Navigate to the "Header" section in the Data Table properties.
Click "Add Actions" to create a button with a clear label like "Bulk Edit" or "Mass Update."
Step 2: Construct Your Bulk Edit Flow
Store Selected Records:
Create a "Text" collection variable (e.g., selectedRecordIds) to store the IDs of the records selected for bulk editing.
Crucially, enable "Allow Multiple Values" for this variable.
Format Record IDs:
Employ the "Join Text Collection" Avonni Action to add commas between each record ID, ensuring proper formatting for filtering.
Create a variable (e.g., recordIds) to store the formatted output.
Create a Dynamic Query Filter:
Build a formula to filter records in your bulk edit Data Table. Use this structure: "Id IN ('" & {!recordIds} & "')". This ensures only the selected records appear for editing.
Add the Bulk Edit Data Table:
Place another Avonni Data Table on a new screen within your Bulk Edit flow.
Configure it with a "Query Data Source" and apply the dynamic query filter.
Choose the editable fields and configure the Data Table for optimal bulk editing:
In "All Columns Settings," check "Display as Input" and "Editable."
Toggle "Hide Checkbox Column" and "Always Display Bottom Bar."
Enable Saving and Closing:
Add "On Save" interactions to your bulk edit Data Table:
Include an "Update Records" action to save the changes.
Add a "Finish Flow Navigation" action to close the bulk edit window after saving.
Step 3: Connect the Two Flows
Return to your Main Flow.
Configure the "Bulk Edit" Button:
Add an interaction to the button.
Choose "Open Flow Dialog" and select your Bulk Edit Flow.
Map the "Selected Record Ids" output to your selectedRecordIds variable.
Set the size to "Large" for a comfortable editing experience.
Select "Refresh Query" for "On Finish" to update the Main Flow's Data Table after bulk editing.
Congratulations! You've successfully added a mass edit feature to your Salesforce flows. This enhancement will undoubtedly save your users time and boost their productivity.